🎉 You no longer need Workflows to use Sequential, so you can use Sequential on Starter, Pro, and Enterprise editions of HubSpot. 🎉
Watch our install video, or you can follow the step by step guide below!
Step 1: Click the install link from the app store.
Step 2: Click "Choose Account"
-1.png?width=688&height=413&name=Untitled%20design%20(2)-1.png)
Step 3: Click "Connect app"
-1.png?width=688&height=413&name=Untitled%20design%20(3)-1.png)
Step 4: Click "Go Back to HubSpot" to navigate back to your HubSpot Portal.
.png?width=688&height=413&name=Untitled%20design%20(4).png)
Step 5: Click "⚙️ Settings"
-1.png?width=688&height=413&name=Untitled%20design%20(5)-1.png)
Step 6: Click "Integrations"
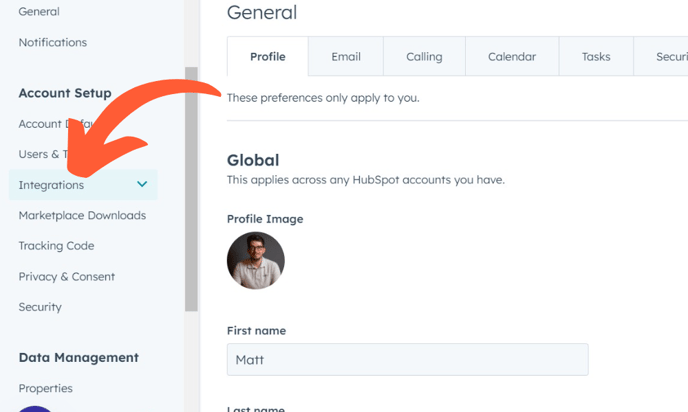
Step 7: Click "Connected Apps"

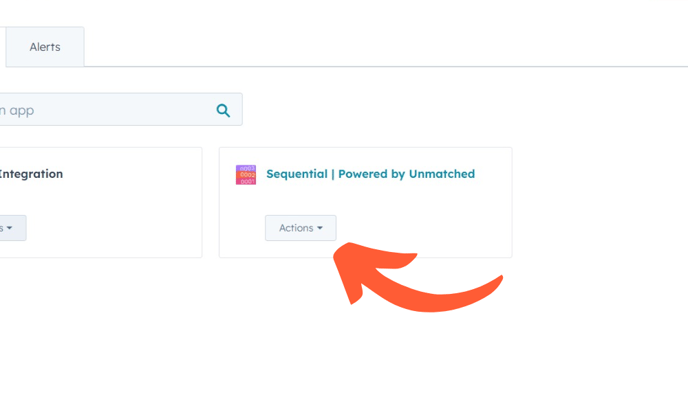
Step 8: Click "Actions"
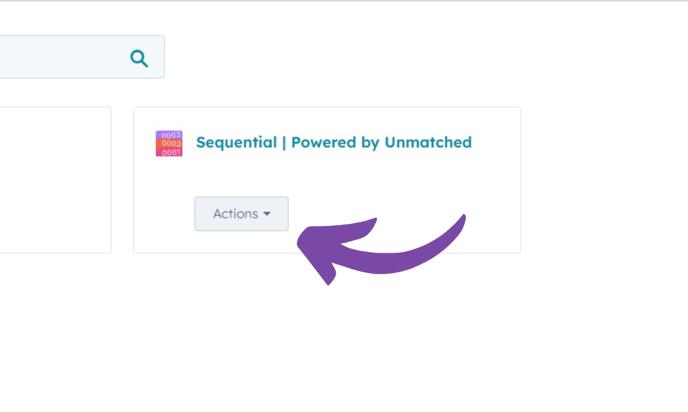
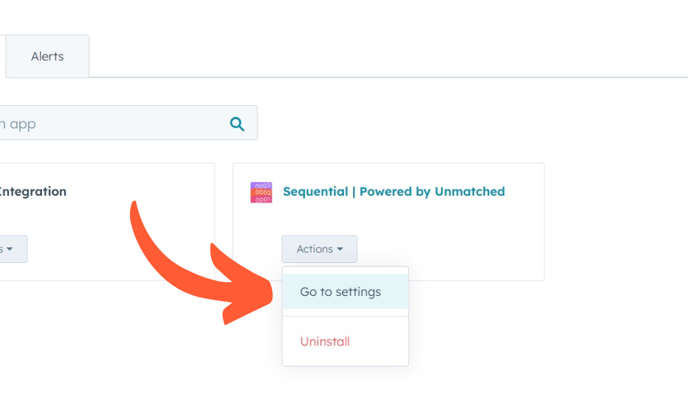
Step 9: Click "Go to ⚙️ settings"

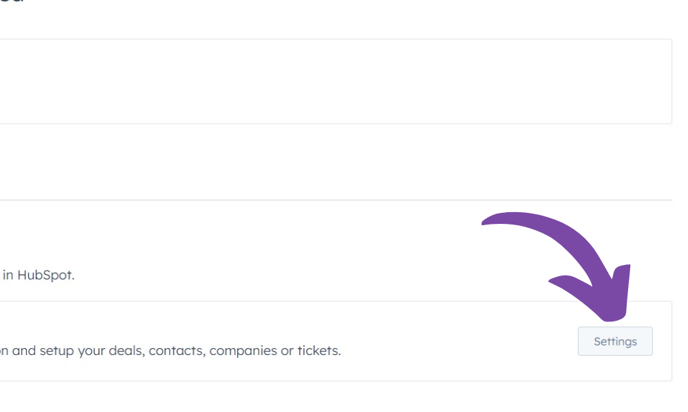
Step 10: Click "⚙️ Settings"

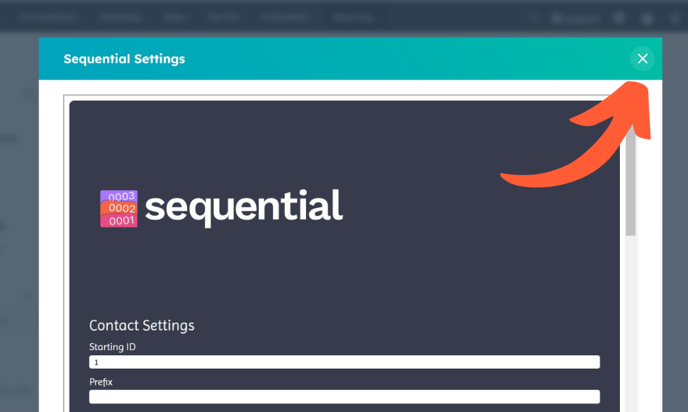
Step 11: Confirm Sequential is in your portal, then close down this screen
⛔ We're now going to create the property you would like Sequential to update.
Step 12: Click "Objects", so we can start adding properties
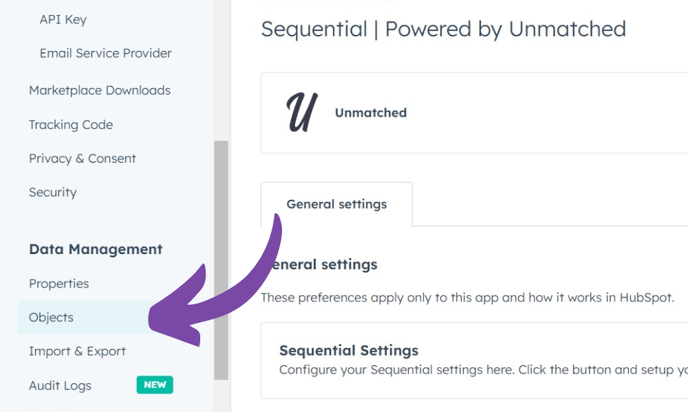
Step 13: Click "Contacts" (or whichever Object you decide)

Step 14: Click "Manage contact properties"
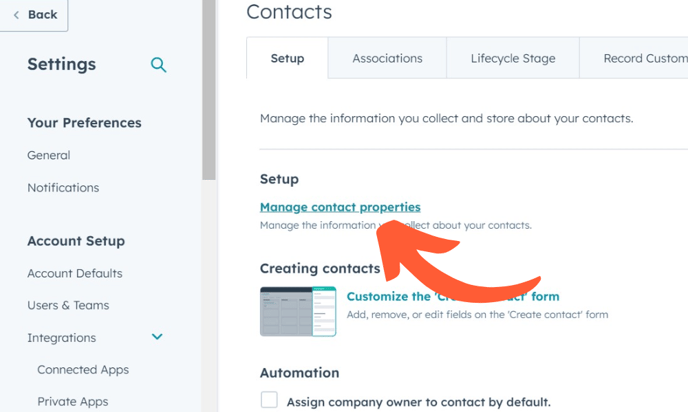
Step 15: Click "Create property"
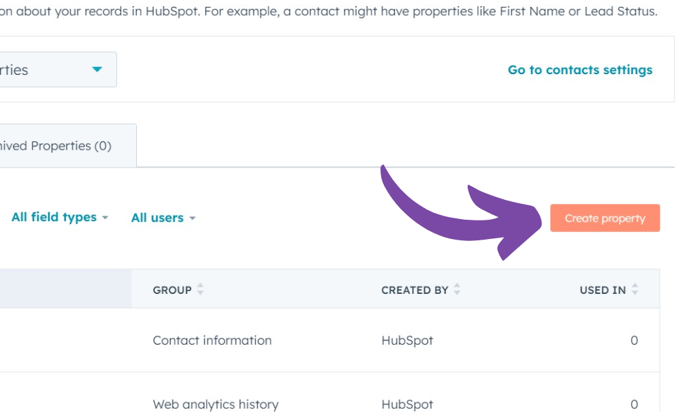
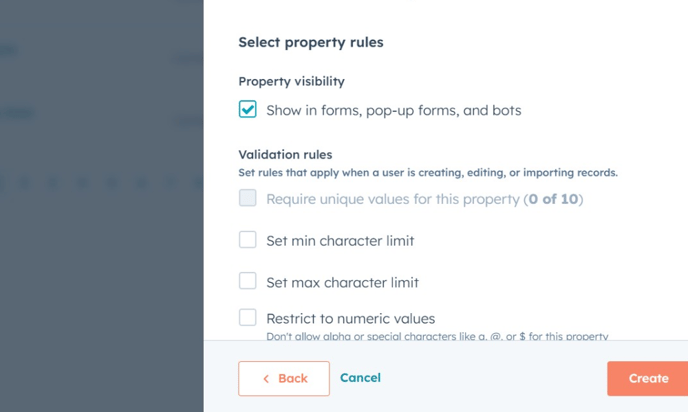
Step 16: Create a 'Single-Line Text' property and give it a label.
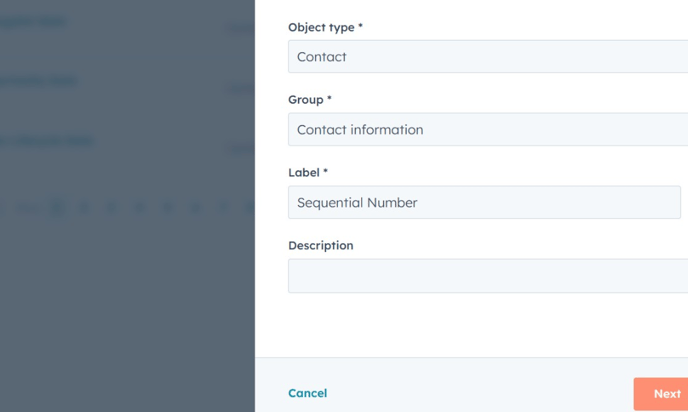
Step 17: Click "Select field type"

Step 18: Click "Single-line text"
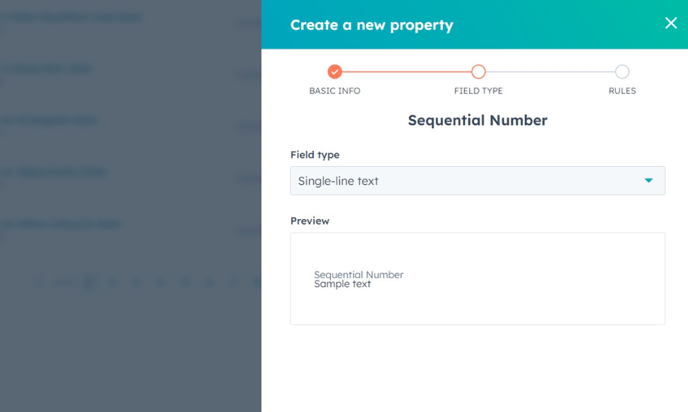
Step 19: Click "Next"

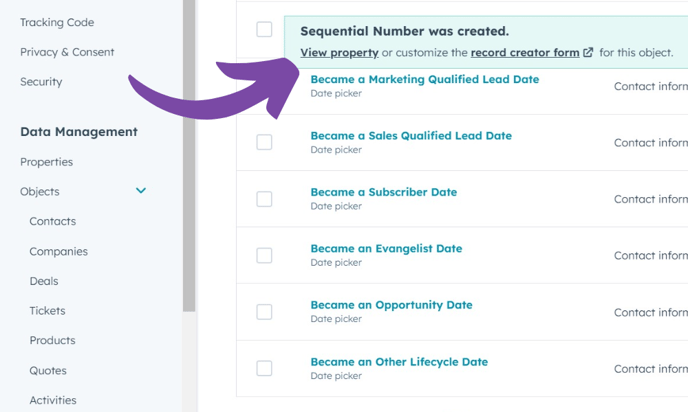
Step 20: Click "Create"
Step 21: Click "View property"
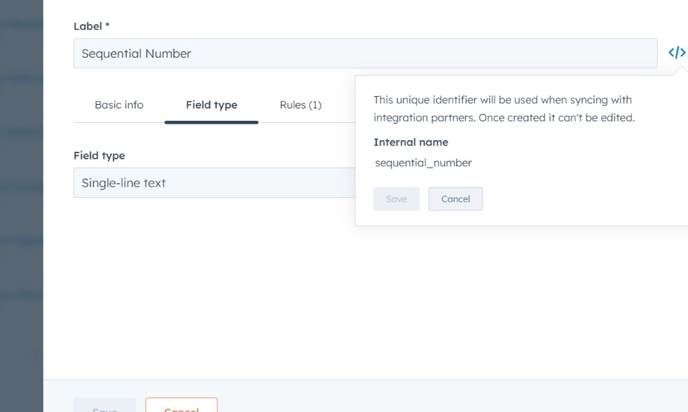
Step 22: Click the "Internal name" field.
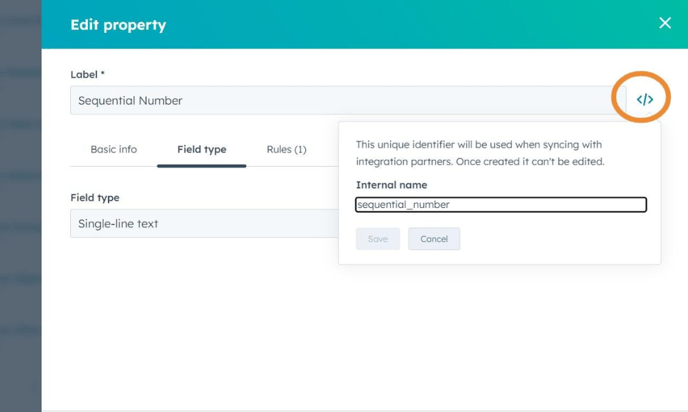
Step 23: Copy the internal name onto your clipboard (Ctrl C)
Step 24: Click "Connected Apps"

Step 25: Click "Actions"
Step 26: Click "Go to settings"
Step 27: Click "Settings"
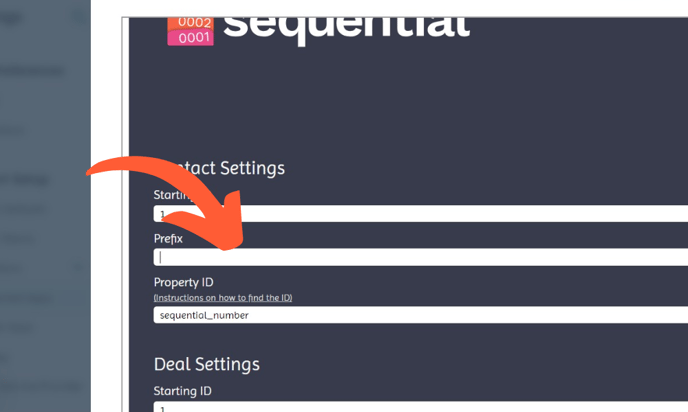
Step 28: Click the "Property ID" field, then paste in your internal property ID.
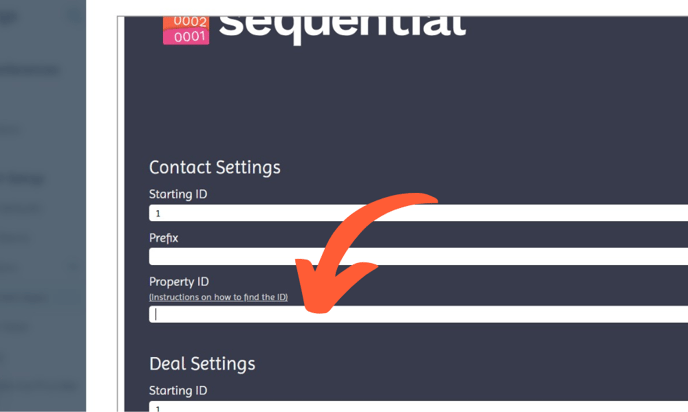
Step 29: Add a prefix to your number, be sure to only use letters or numbers, no dashes or other special characters.
Step 30: Click "Submit"
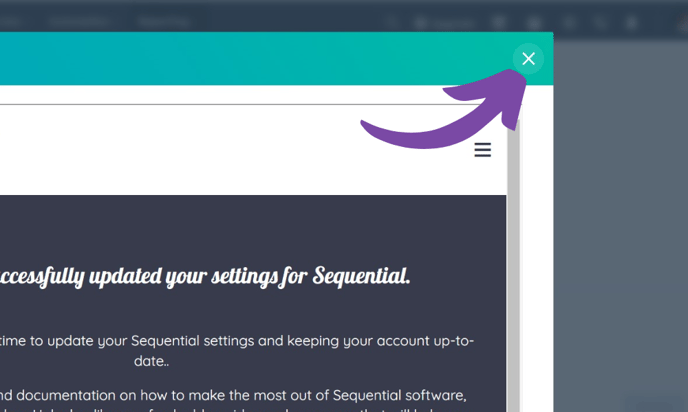
Step 31: Click "Close"
Do you want to use workflows or have Sequential work on all records being created?
Our latest functionality means you no longer need to use workflows, but you still can if you need more control.
The default Sequential functionality will work across all records being created, e.g. every new deal being created would trigger the app.
If you used a workflow instead, you can control this to (for example) only trigger for deals in a certain pipeline.
Step 32: Click "Automation"

Step 33: Click "Workflows"

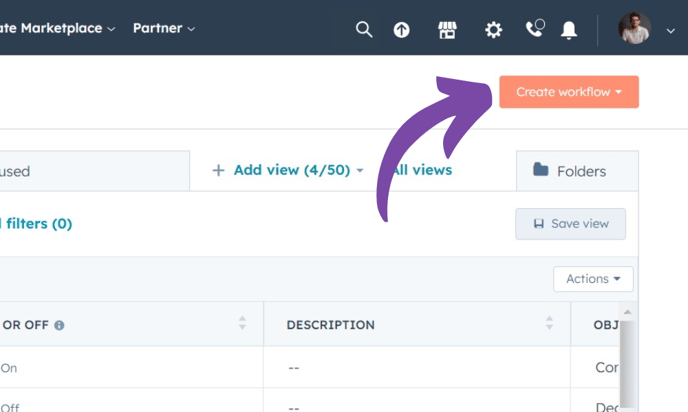
Step 34: Click "Create workflow"
Step 35: Click "From scratch"

Step 36: Choose the same type of workflow that matches the object you chose above.
If you chose to number Contacts, pick 'Contact-based', if you chose to number Deals, pick 'Deal-based'. Etc.

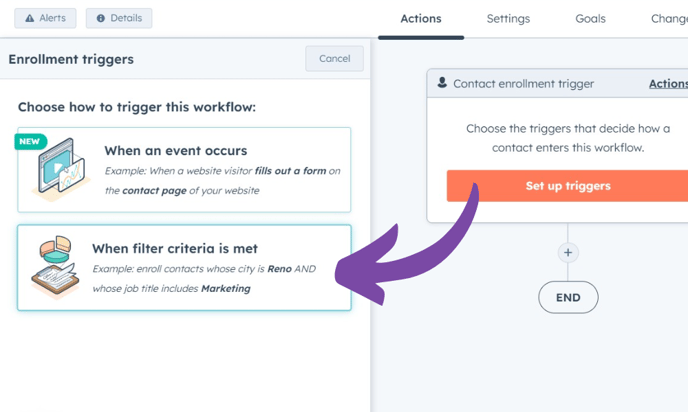
Step 37: Click "Set up triggers"

➡️ To enrol every single Object created in your portal, choose 'Record ID is Known' for your trigger.
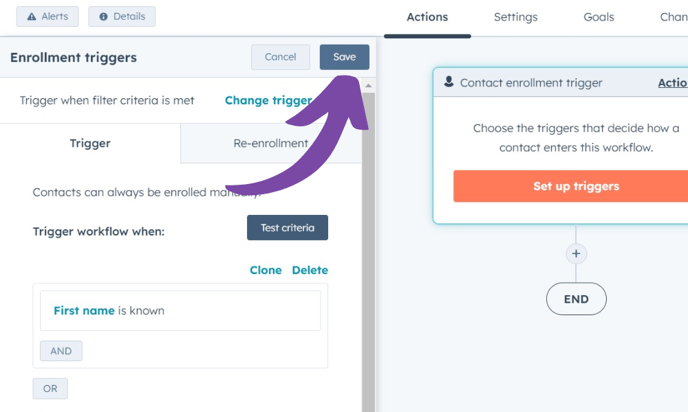
Step 38: Select your trigger
Step 39: Click "Save"
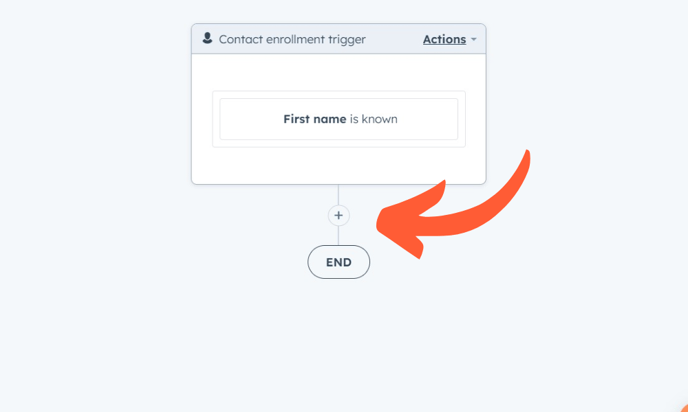
Step 40: Click here to add a new action.
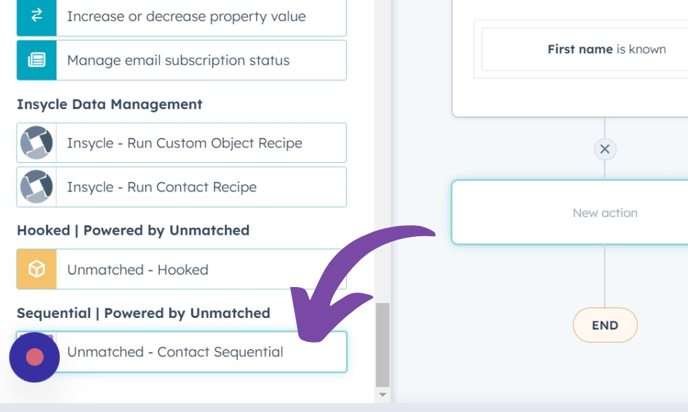
Step 41: Click "Unmatched - [Object] Sequential"
Step 42: Click "Save"

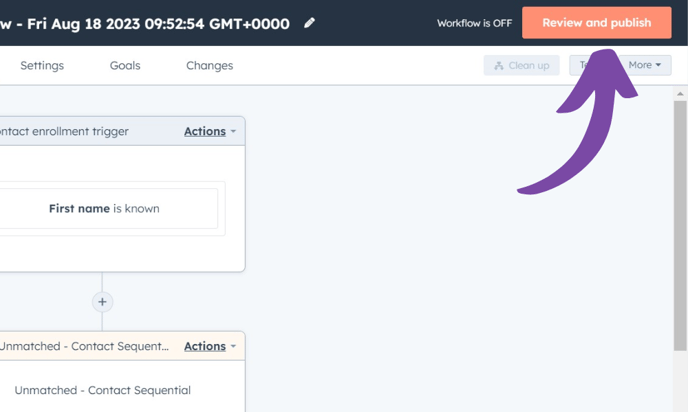
Step 43: Click "Review and publish"
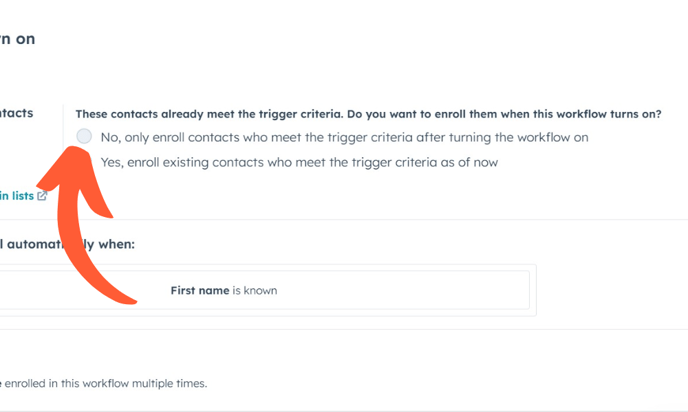
Step 44: Choose your enrolment option. You'll likely want to click 'No'.
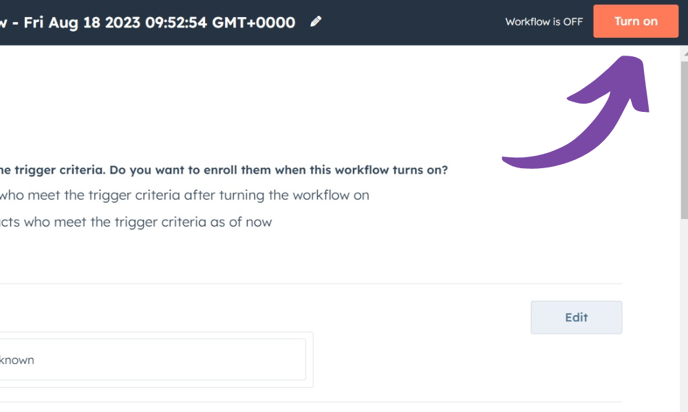
Step 45: Turn on your workflow!
⚠️ Sequential can sometimes take a minute or so to number your objects. So give it a moment. If you have any issues at all, please email hello@unmatched.agency.
⚠️ Click here for uninstall instructions.